an interview with our doga instructor, Jess Wilson
 |
| Jess Explains Feeling the Exhale of the Breath |
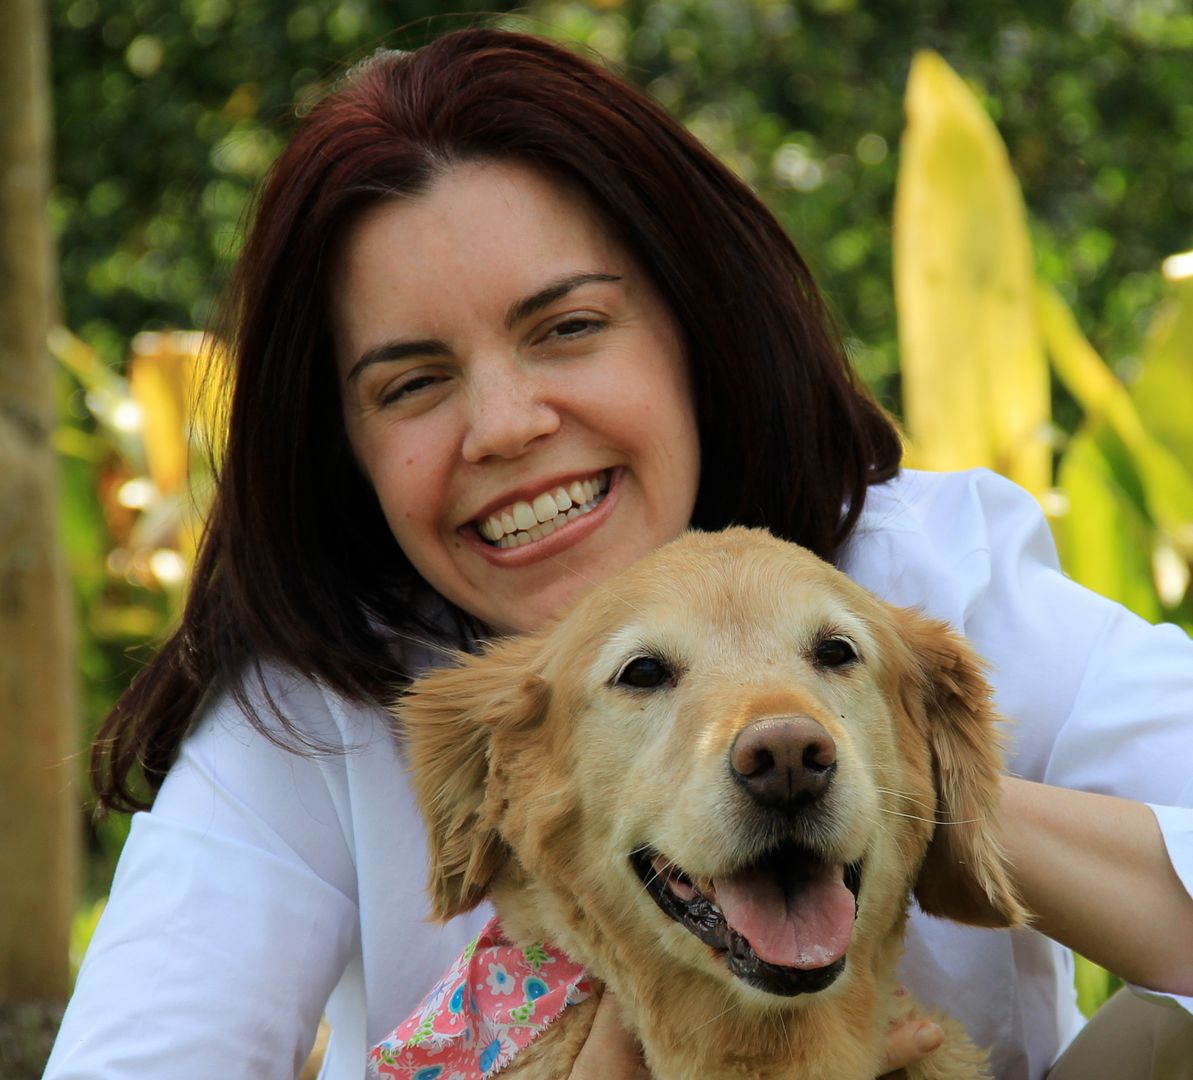
As Tanner, Oliver and I continue our journey in yoga practice, we'd like to help you get to know our instructor, Jess, a little bit better. We love her dog, Nikki B. Isn't she adorable wearing her All Things Dog Blog bandana? A limited number of these bandanas are available in 2 sizes for your dog. If you'd like one, simply RT this message and DM me with your address. I'll ship the bandanas out in early January, first come, first serve.
I have asked Jess a few simple questions to help us better understand her philosophies and strategies. Today's question addresses making yoga easier for even the most challenged of us. You may also find our first two interview questions with Jess quite helpful:
CARRIE: Some of my
readers have indicated that most any pose they have tried has proven to be
uncomfortable in any version. Are there any suggestions you can add to your earlier answers about making yoga easier for those of us who find it more challenging?
JESS: As previously stated, it is with the exhale of the breath
that our brains send a signal to our muscles to relax more, so if at first a
pose does not feel that great, be patient, give it a few breaths, and see if it
starts to feel better. A lot of people shy away from poses because they don’t
feel great right away, but let me assure you that not all poses are supposed to
feel great right away; in fact, some poses won’t feel great immediately because
there is tightness in an area, most likely a joint area, or a large muscle
group, that needs to be worked through. If the pose is not held for at least
3-5 slow, deep breaths, you won’t be giving your body the time it needs to work
through those tense areas, which will hinder the amount of physical benefit you could be gaining from your practice.
Take the Supine Spinal Twist Pose, for example. This is a pose that
never feels great right away, regardless of how experienced you are with the
practice of yoga, because of the fact that it is such a deep twist. With the
assistance of blankets and pillows behind the back and between the knees,
however, it can and will start to feel extremely enjoyable after a few deep
breaths, once the hips relax and thereby allow the spine to more easily and
comfortably twist. Please do be sure to warm up appropriately, and be aware that this is not a pose for those who have had back surgery or have been advised otherwise by their physician.
With that said, however, if there is sharp pain felt while practicing a
pose, that is your body’s way of telling you that it’s not ready to work
through the tightness in that area of the body and you’ll have to work through
some other poses first, targeting other muscle groups or joints, before
attempting that particular pose again.
Take the knee joint, for example. There
are a lot of poses that could put a great deal of strain on the knees if the
hips are tight. When the hips are open, however, there will be very little
strain on the knees and the pose will feel good. This is because the hips are
connected to the knees; so, the wider range of motion you have in your hips,
the wider range of motion you will have in your knees.
The Eagle Pose is a great example of this. Some
people absolutely cannot add in the ankle hook option to this pose because
their hips are so tight. Without open, flexible hips, the knees cannot possibly
be comfortable in the full Eagle Pose, which requires the ankle to hook around
the standing leg. So, start the practice of the Eagle Pose with a different
pose that helps to open the hips, like the Tree Pose, or start with an even more basic
hip opener: Butterfly. Depending on how frequently you
practice, and how consistently you practice, you will slowly, but surely, begin
to notice an improvement in the flexibility of your hips, which will then make
the practice of more challenging hip opener poses, like the Eagle Pose, not
only more attainable, but more enjoyable.
Remember that every body type is different, and everyone carries stress
in different areas of the body, so if it takes longer than you originally
anticipated to release tension from the hips, for example, be patient and kind
to yourself and always remain positive and hopeful. How quickly you progress in each pose is
entirely effected by how long you practice, how consistently you practice, and
how you carry your stress and tension in your body. This is where your dog can help a great deal; by joining you to help you relax, bond and stay on your mat just a little longer each time you practice.
 |
| Building the Bond |
Another one of my favorite things about the practice of yoga is the fact
that it is a never ending journey. There is no final destination, no milestone
that marks the end; to the contrary, yoga is all about the journey and what we
learn about ourselves along the way.
There will always be more poses to learn, more variations of poses to
play with; more challenges physically, emotionally and spiritually. That’s what
makes the practice of yoga so uniquely fabulous, so enjoy your journey and
remember to stop to smell the roses, including your dog in that enjoyment.
You may wish to simply start your
journey by sitting comfortably on the mat with your dog(s), enjoying some
petting, cuddling, tickling and deep belly breathing. If you start with the
bonding aspect of doga, and get your furry companions comfortable with joining
you on the mat, you may find that you will be more motivated to tackle new and
different poses, all in good time.


 If you're new to Doga or Yoga, please be sure to do these three things: (1) Get your doctor's permission to start a yoga workout, (2) Check with your vet to make sure your dog is able to participate in simple Doga exercises safely, and (3) visit our introductory post where I've outlined a few tips that will help your experience go more smoothly and enjoyable. Keep in mind that you can always stop if a pose is uncomfortable, returning to a relaxing pose.