


My upper body strength has always been a challenge in tasks that involve my whole body. I'm 5'10" tall, so that's a lot to leverage. I'm not making excuses, but I hope I'm giving you some inspiration; there is hope. :) Despite my inability to do a series of pushups that look like they should, I can do pushups from my knees. I started with a little less than a straight body position, but have improved greatly. Practicing the plank position seen at the top is the best thing I've learned. This really makes you engage all your muscles and work them all at the same time. Psst--I think my bum is getting a bit firmer :)
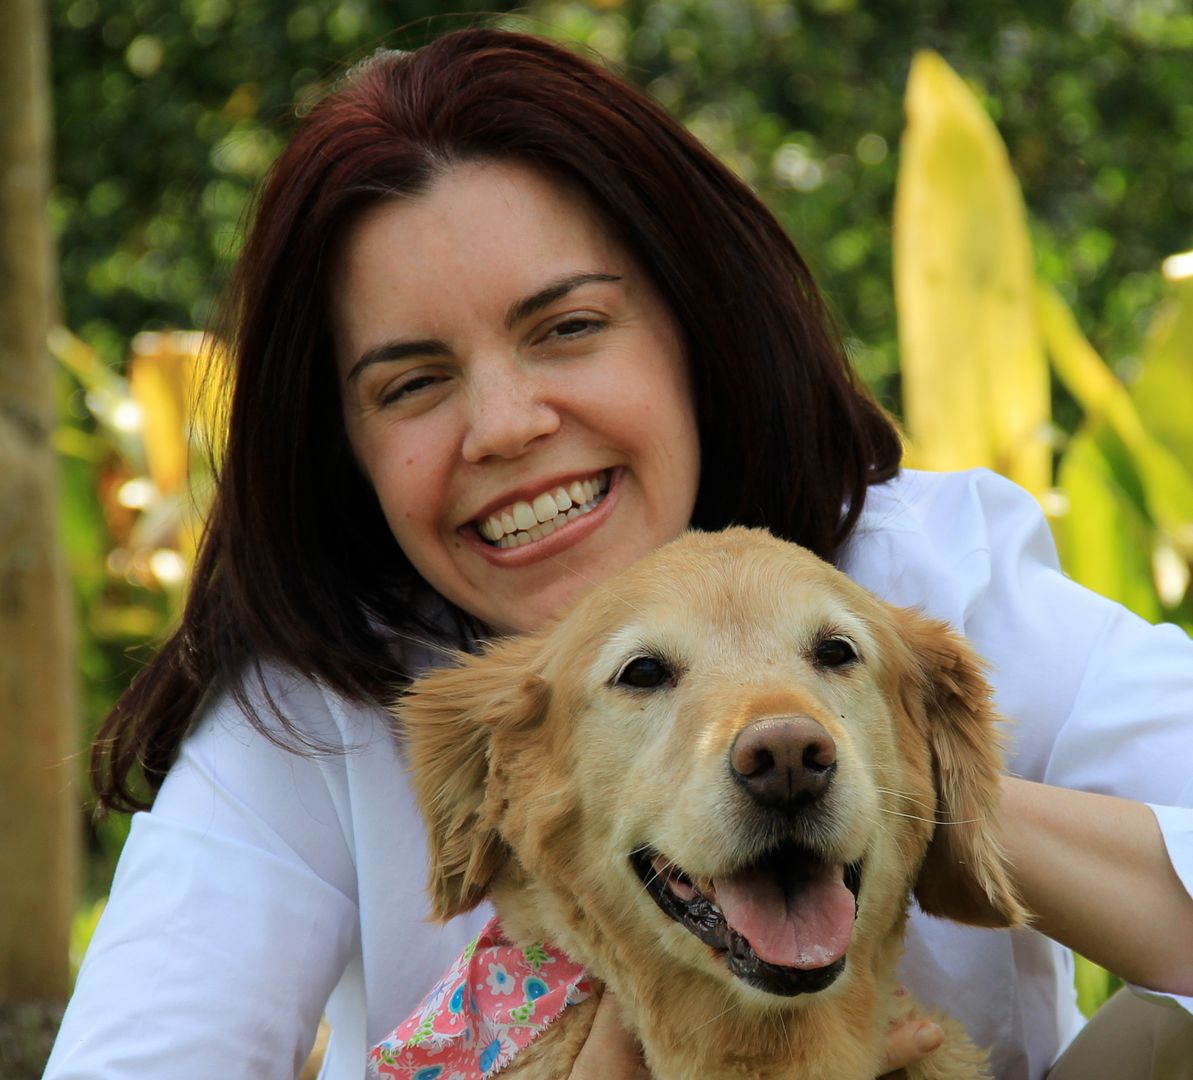
The dogs are great when I'm working on this pose. They eyeball me as if to say "You've got this, Mom". I doubt I'd practice these buggers if I didn't have my cheerleaders here to support me. Oliver often offers a play bow, while Tanner's constant presence gives me strength.
The wall versions are quite another thing though. Not only do I do these daily, but I like doing them. They stretch my chest, help strengthen my neck where I have injuries, work all of my upper body, and are a great excuse to get out away from my desk and focus on something else for a few minutes when I'm stuck on a problem. It's amazing how much mental clarity yoga brings me. Sometimes I'll return to my desk after a few #doga poses and find that all my problems were simply fuzziness of thinking. I'm starting to take more frequent breaks, and the dogs are loving the bonding time. Met too!

Notice in these images that I've demonstrated two leg positions. Each will feel a bit different, but most people will find the wider stance is easier in the beginning. You can also try working further away from the wall to add more difficulty, when you're ready.
What I neglected to photograph was the arm positions. Try experimenting with two versions: elbows out and elbows down along the ribcage. If you have any shoulder issues, you may find the elbows down position will be more comfortable, and therefore more productive.
Finally, when working with your elbows out as shown above, you can also face your fingers inward, as opposed to upward. If you have wrist or forearm issues, try both options to find the one that works most comfortably for you.


0 comments:
Post a Comment